Canele De Bordeaux: The Perfect Petit Four
Although the exact history of this delicate cake is some what a blur, many of the back stories that I was able to dig up led to the belief that the little pastries were perfected by a convent of ancient nuns; as so many of the world’s finest treats usually are. A Canele is an elusive treat in our modernized culinary world. The single serving cakes have recently begun to make some what of a come back as chefs are looking into mastering traditional techniques with the idea of building character in their menus (Floriole, in Chicago for instance has featured them on their “Cookies & Sweets” menu). Being able to produce a perfect Canele is an impressive feat, as any cook who has attempted to conjure the tiny cake could attest.

The cake is characterized by it’s size, shape, flavor and texture (both exterior and interior). A Canele is not often larger than a single bite and resembles a dark 2 inch tall fluted thimble. The “shell” is a dark & rich caramelized crust that incases a fluffy custard center, lightly spackled with vanilla bean. The taste is and explosion of honey, rum, vanilla and caramel all in one bite. I came across my first Canele While working in a hotel in Cary, North Carolina. It was the pinnacle (in my opinion) of a small plate of petit fours delivered to every patron as a soft note at the end of each dinner.

With a humble introduction, I set out to recreate the delicacy for myself.
Recipe: The ingredients are simple
Whole Milk 2 cups
Vanilla Bean 1 each (Split and extract Pulp and reserve Pod)
Unsalted Butter ¾ oz
Granulated Sugar 1 cup
Salt pinch
Cake Flour 5 oz
Almond Extract ½ tsp
Dark Rum 1 ½ oz
Whole Egg 1 ea
Egg Yolks 2 ea
Beeswax 1 oz
Butter 1 oz
Step 1:

In a small saucepot combine the milk, vanilla (pulp & pod), ¾ oz butter, sugar, and salt. Lightly whisk the mix and bring to a simmer over medium heat on the stove.
Step 2:

In a mixing bowl, add your flour and about a ¼ of your steeped milk, whisk vigorously until you have a lump free paste. When you have a smooth batter, you can then add the rest of your milk. Allow the mix to cool at room temp, for roughly fifteen minutes.

Step 3:
In a separate mixing bowl combine the Rum, Almond Extract, and eggs and combine thoroughly.
Step 4:
Combined the chilled milk mixture with the rum mixture and gently mix together.

This is where you find a lot of difference in opinion with recipes. Some call for the mixture to be fully incorporated whilst others simply folded gently. Also some recipes call for a rest period of 12-48 hours while others never mention a time of rest. I find it best to allow the batter to rest refrigerated overnight before baking.
Step 5: Coating Your Molds
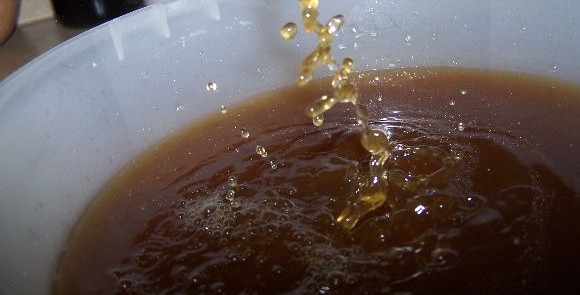
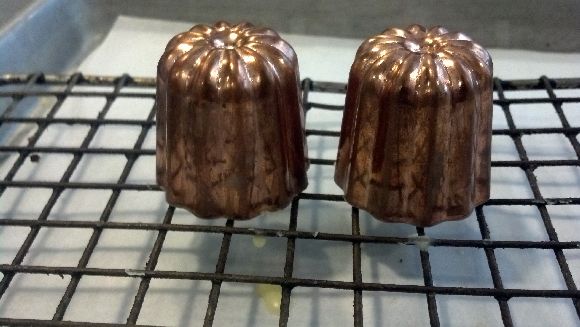
 In order to achieve the infamous Crust that characterizes the dainty delicacy, the molds in which the cake is baked must be coated in mix of 50% butter and 50% beeswax. The mixture in large part dictates the color, texture and even flavor of the morsel, it is single handedly the largest variable in producing the Perfect Canele. Melt your beeswax and butter together in a bowl over a hot water bath. Lightly Coat the inside of your Molds then let them sit upside down on a resting rack to drain excess wax. If the mold is too heavily coated this could lead to an undesirable waxy coating in your mouth as you consume the cake.
Step 6: Fill and Bake

When the mold have sat and the coating has dried, flip them over and fill the molds with the Batter. (*I find it quiet simple to transfer my batter to a squeeze bottle and fill them that way, very clean and efficient). Once you have you molds filled lay them out on a sheet tray and bake the cakes at 480°F for 12 minutes (Rotate the tray at 6 minutes). Then turn the heat on the oven to 350°F and allow cooking to continue for and additional 45 minutes.

When you hear the Buzzer, un-mold the cake and allow to rest for a moment, then enjoy.
Quick Tips & Notes:
* The Canele Molds can be purchased online and are often quite pricey, I found mine at JBPrince.com.
* It is also a good idea to season your mold a bit if they have never been used. You can do this simple by placing them in a hot oven with a light coating of oil. allowing them to heat and cool several times before wiping them out with a paper towel.
* Beeswax in an interesting ingredient to come by and unfortunately I Found zero substitutes that worked adequately. This is where it benefits you to shop and eat local. I approached a man by the name of Dennis Penzkover (of Timberline Trout Ranch in Rice Lake, Wisconsin). He has long been my supplier of trout, maple syrup, and honey. When I asked him about beeswax, he happily gave me 5lb without hesitation. A bit more than I needed for this recipe…
You may have to invest some time and money into this Recipe, But I assure you that it is worth every dime spent.
You May Also Like
Somewhere over the Rainbow… Trout!
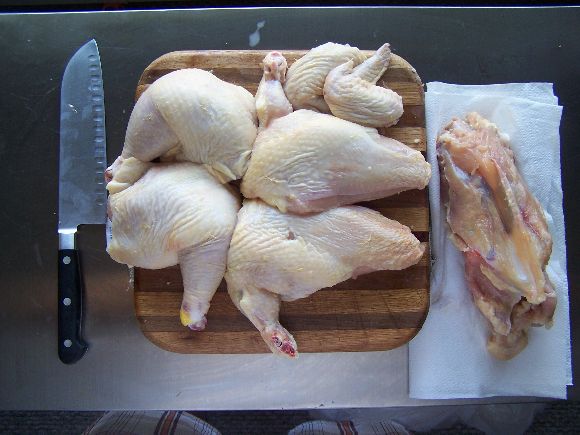
Fabrication 101: The Anatomy of a Chicken