No Fuss Gnocchi
One of my favorite items to make and consume in my home kitchen, hands down, is a simple Potato Gnocchi. The simplicity in the production and the versatility with the final product make Gnocchi a mandatory staple in my life. Whether I am looking f
or a small snack, side dish, or a hearty entrée; the little dumplings are a dependable go to quick fix.
I have been cooking variations of Gnocchi since the day I left culinary school (and even in school, oddly enough) never two recipes exactly the same. There is a whole giant world out there and anyone who has ever cooked and/or eaten Gnocchi has their favorite recipe. I have met cooks who swear that if you use egg as an ingredient, then it’s not Italian. I have worked with a Chef that loved to make his own variation of an Eggplant Gnocchi, as well as worked with a petite Pastry Chef that taught me the luxuries of a Parisienne Gnocchi.
Some of these recipes have eggs, and some don’t.
Some of these recipes have potatoes, and some don’t.
Some of these recipes have cheese, and once again, some don’t.
Preparations can also vary, using a wet Pate a Choux, or a drier (lightly kneaded) dough. It is all in the hands of the cook. With the addition of any ingredient (egg, potato, cheese, ect.) the final product will vary in flavor, texture, and appearance. One of the few constants in a gnocchi production, is flour. There is always some form of flour involved, weather it be semolina, wheat, buckwheat, or bleached white all purpose. Through many restaurants and countless tutors I have now found a favorite combination that I feel, works best for me and my needs.
Here’s the recipe
Russet Potato – 4
All Purpose Flour – 2 1/2 cups to start, then As needed
Kosher Salt – To taste
Viola, that’s it. Now a couple notes before we start:
Bake the potatoes, Never boil. Baking the potatoes will draw out some of the moisture and keep your little nuggets nice and fluffy.
Test everything, Leave nothing to chance. When forming the dough taste periodically for flavor (it’s cooked potatoes, raw flour, and salt… don’t be afraid of it.) Have a pot of boiling water at the ready. If you think your dough needs a bit more flour, boil a piece and see how it does in the water, if it falls apart and refuses to hold shape, add a bit of flour. If it comes out rubbery and firm, too much flour.
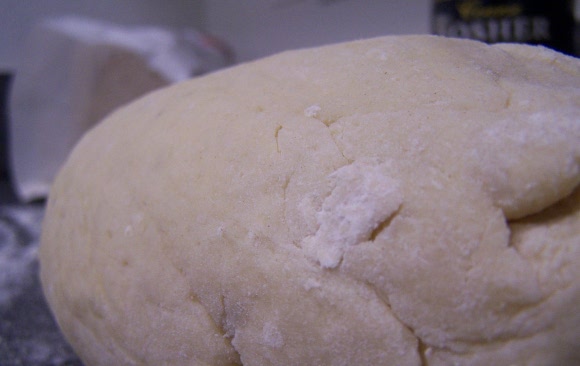
You want to start by baking your potatoes in a hot oven until cooked through completely, I usually set my oven at around 400 degrees. Make sure to perforate the potatoes with a knife or fork, to allow the potato to breath and cook through evenly. Once the potatoes are cooked, let them cool to a point that you are able to handle them without burning you hands. Scoop the potato flesh out of the skin strain into a food mill, and reserve for use while discarding the actual skin. Then pass the potato flesh right onto your work surface, season lightly with salt. (If you do not have a food mill, mash the potatoes with a fork, and make sure to break up any large pieces, you want a smooth mound of potato when you are finished.) I start by folding my flour into the seasoned potatoes, use you hands to get in there and incorporate the flour. Use a bit more flour as needed, based on the texture and pliability of the dough. You want a dough that’s soft, not firm, and holds shape but is not over worked. Like I said earlier, if you are unsure as to weather or not you need more flour, pinch off a piece of dough and drop it in the boiling water; your looking for light and fluffy in your mouth.
Rolling the dough
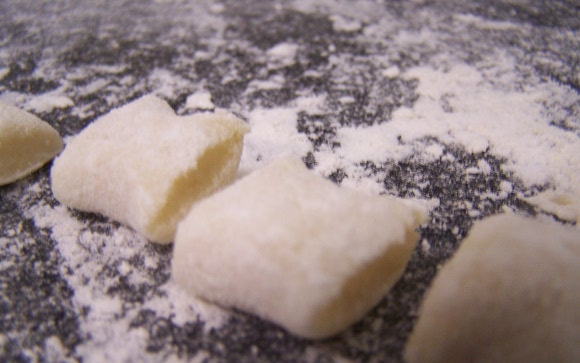
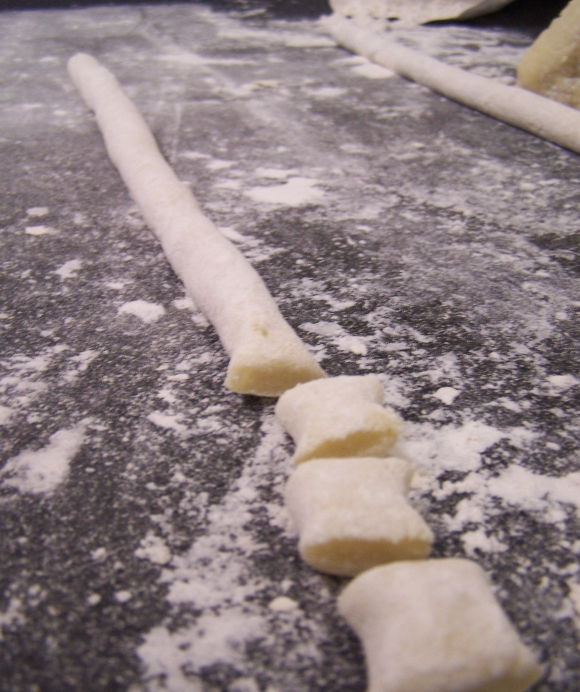
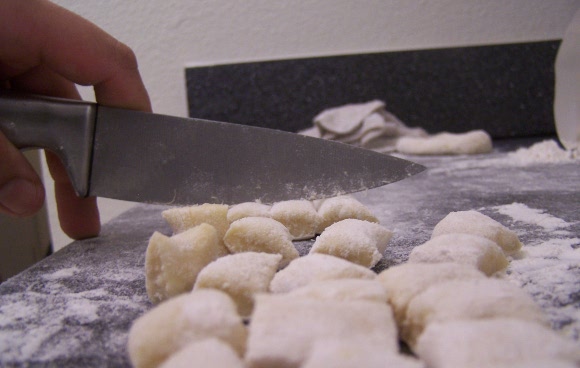
When you are satisfied with your dough, then you move into the rolling phase. On a flour dusted work surface, I like to start by sectioning the dough into four separate pieces. I then roll each section into a long log shape with my flour covered hands, the flour will keep the dough from sticking to everything. This is the part where one becomes captivated, trying to form a perfect consistent log. I like to roll my dough to about a ½ in in diameter, but really size doesn’t matter… Remember, if your dumplings are not holding shape you may need a bit more flour and if you have no friction while rolling you logs, there is too much flour on the work surface. Once you have a couple identical logs, grab a knife (or a bench scraper works wonders here) and start cutting off roughly 1 inch pieces. You should finish with a lightly flour dusted dumpling, that is characteristically plump and rectangular.
Once you have a couple beautiful dumplings that you are proud of, you can pick up the pace of production by placing a couple logs side by side and cutting identical dumplings, and go crazy.
Going the Extra Mile
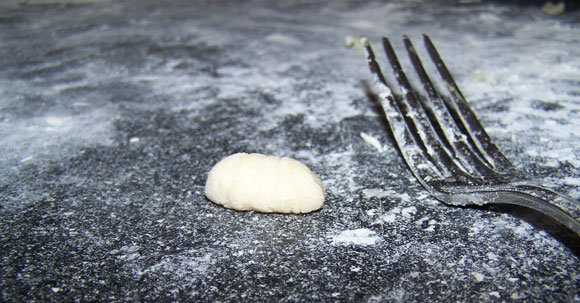
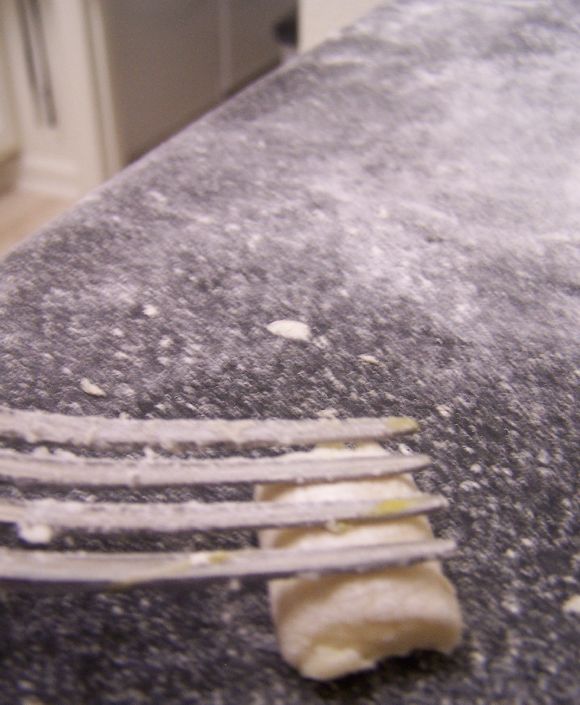
Now this would be a great place to leave your dumplings, and they are perfectly edible and wonderful at this stage, but a traditionalist may argue that they are not properly shaped. You see, as our dumplings are round and plump and beautifully smooth, traditionally gnocchi is a ribbed dumpling. The ribbed gnocchi are textured to hold a sauce better providing tiny ridges for the sauce to cling to. To achieve these little ridges there is a Gnocchi paddle, which is a textured instrument available online and in most novelty kitchen shops. If you cant find one, using a fork will virtually do the same thing. Lightly press the fork on the dumplings and roll until the ribs surround the dumpling. If you are finding this to be difficult, and you are unable to “Grip” the gnocchi with the fork, I like to lightly wet my fork then continue rolling the gnocchi. The moisture will lightly act as an adhesive and lightly stick the dumpling to the fork and assist with shaping. Remember to never use more than a single drop of water, or you will soak your dumpling and end with a gooey mess.
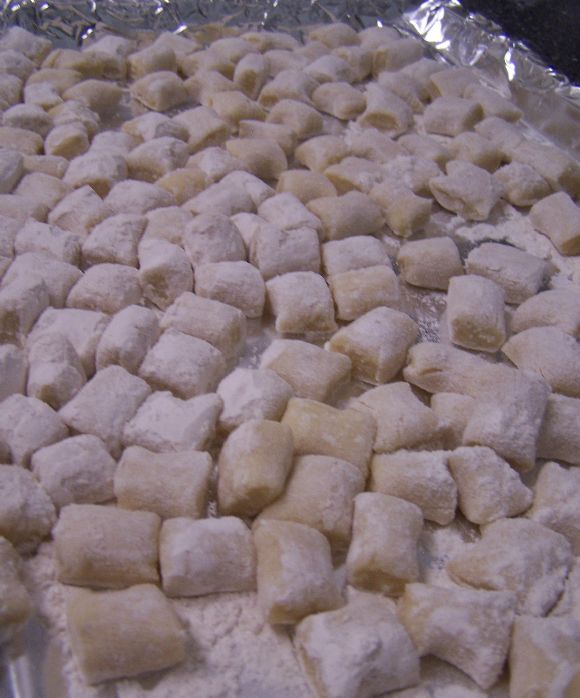
For storage purposes, store all of your handsome dumplings on a lightly flour coated sheet tray, if the dumplings are too lightly coated in flour, they are less likely to stick together. Immediately, I like to freeze my dumplings so that they hold shape and I don’t crush them with my pudgy mitts. Plus, if you make a giant batch, you can always have Gnocchi on hand, it freezes extremely well and can be prepared in/or along side almost anything .
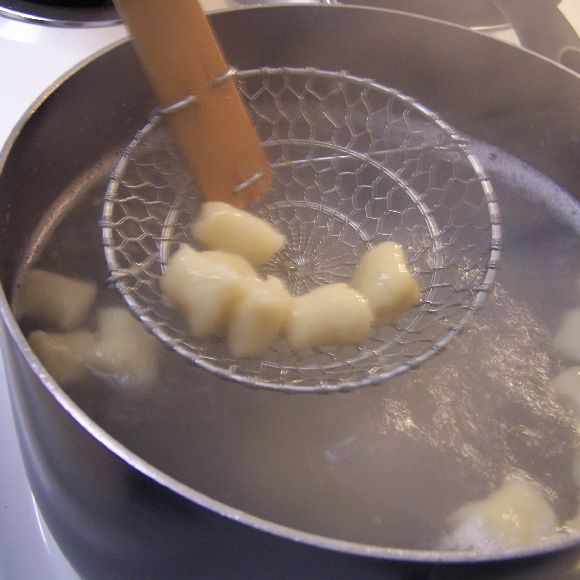
For cooking, I take my frozen dumplings and drop them into a pot of heavily salted, boiling water. I add the dumplings in small batches so that I refrain from overcrowding the water and also so that the temperature of the water dose not change drastically; you want a constant boil. This will cook the dumplings faster and evenly as apposed to having a pot full of frozen dumplings sitting in lukewarm water, disintegrating. When you add the gnocchi to the boiling pot of water, the water should continue to boil while the little nuggets sink to the bottom and cook completely submerged. Once the tiny dumplings make their way to the surface you can pull them out of the water with a ladle, or slotted spoon, and submerge them in an ice bath to stop the cooking process, this will keep the dumplings nice and firm to the bite.
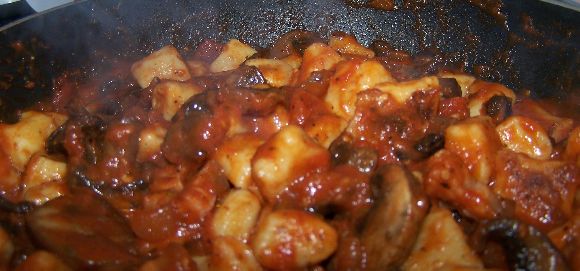
Once they are cooled, place them on a dry paper towel to dry off any excess liquid and now you have fresh, homemade, Gnocchi. From here you can make a butter sauce, creamy sauce, vegetable ragout, tomato sauce, or lightly cover in your favorite olive oil and herbs to enjoy. The great thing about the simplicity of this recipe is you find that you finish with very delicious, very versatile dumplings.
A dumpling that is flexible and can be made into what ever you want it to be, and this is why this gnocchi recipe wins my heart.


One Comment
Pingback: